
Andrew Leedham, our Senior Marketing Manager, joined Muntons in September 2020. With a love for beer (as well as golf and chocolate), Andrew was more than happy to roll his sleeves up and learn more about our homebrew kits, all in the name of work!
So, as part of Learning at Work Week, we asked Andrew to put together his own beginners’ guide to home brewing.
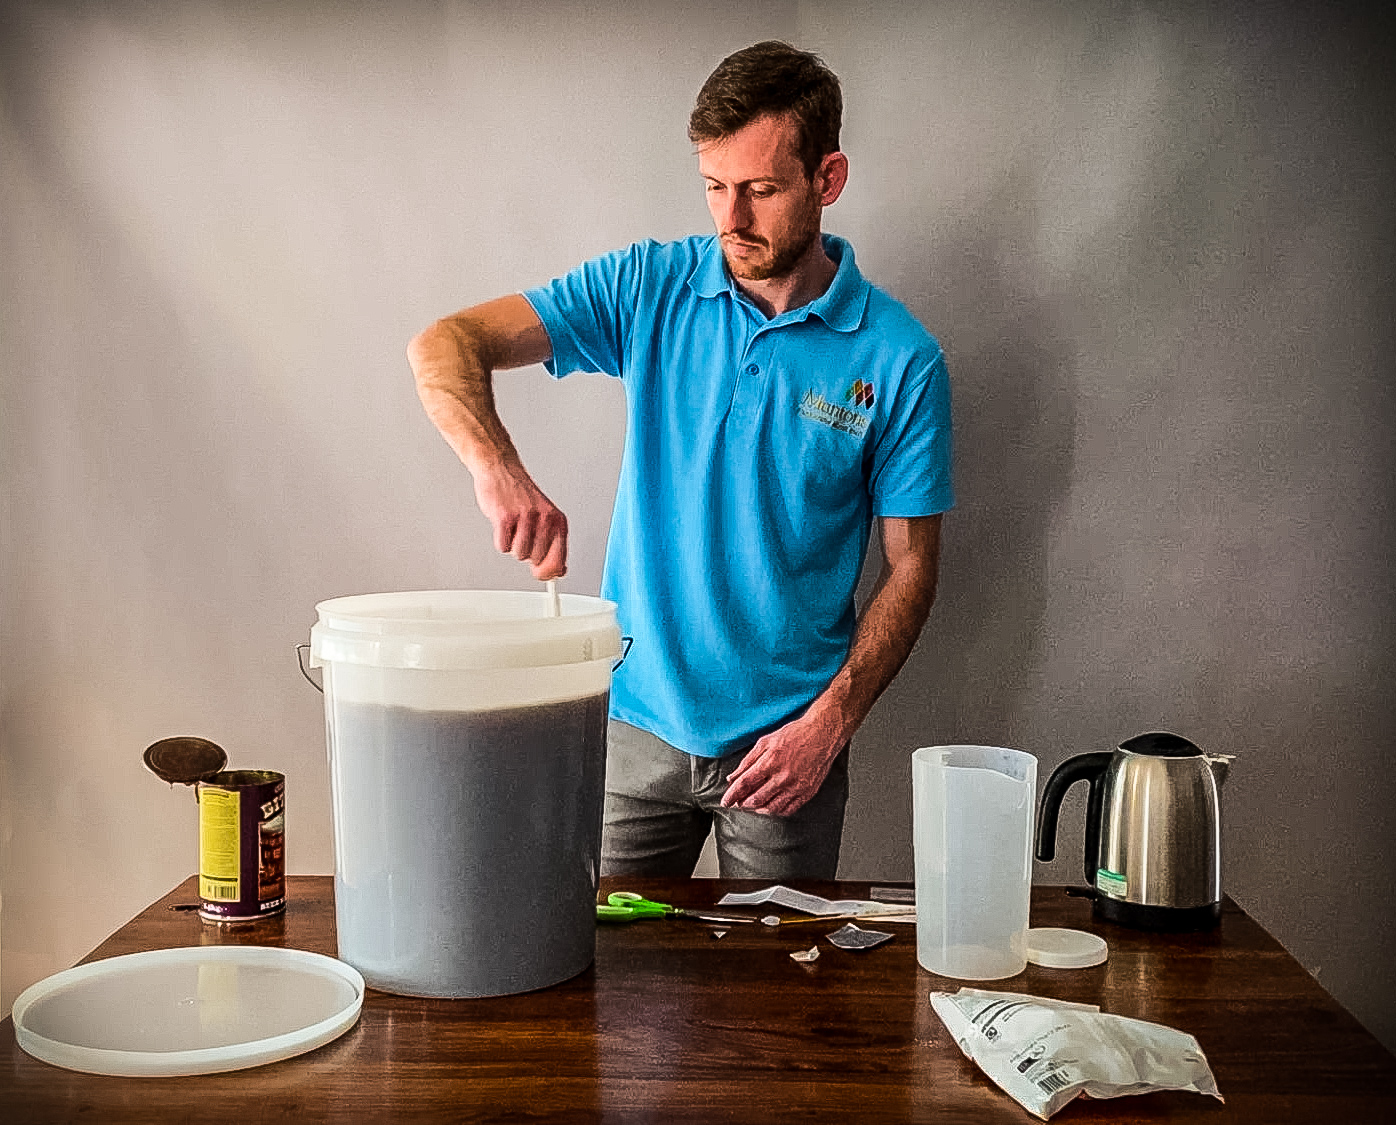
Let’s look at the equipment we need to make our own beer:
Early watch-out; sanitise!
As a new homebrewer, I could *not* wait to get sanitisation out of the way and start putting the ingredients together. Don’t fall into this trap! Homebrewing is a science with live yeast feeding off its environment, so poor sanitisation will lead to off flavours, smells and potentially an infected wort. None of which makes for the perfect pint.
To avoid any contamination, ensure that you sterilise all the equipment before using it. The most efficient way to do this:
Now you’re ready to get brewing!
For my first kit, I brewed a Geordie Bitter on the advice of my colleagues; a relatively simple brewing process that consistently delivers outstanding quality homebrewed beer.
For your first few attempts at homebrewing, follow the ingredients and instructions to the letter. The flavour is packed within the malt extract and therefore you will want to get every drop out of the can.
Here are my top tips:
Mixing the ingredients:
Don’t disregard the importance of this step. If the ingredients aren’t mixed properly, it will affect the flavour of your homebrew:
Fermentation:
Patience is key; always go by the hydrometer and don’t rush! Kits will ferment quickly if kept at the constant optimum temperature. For the typical homebrewer creating the magic in their kitchen or garage, this is not always possible. Your kit will come with an original gravity and final gravity figure in the instructions.
It’s important that you don’t start bottling until it has reached the final gravity.
Bottling & conditioning:
You’re nearly there, but there are still important tasks to do, including more sanitising! You’ve come this far, so don’t get caught out now; make sure you sanitise:
Cheers!
Now enjoy your home brewed beer!